- Mon 28 July 2025
- Tutorials
- #gaming, #3d printing
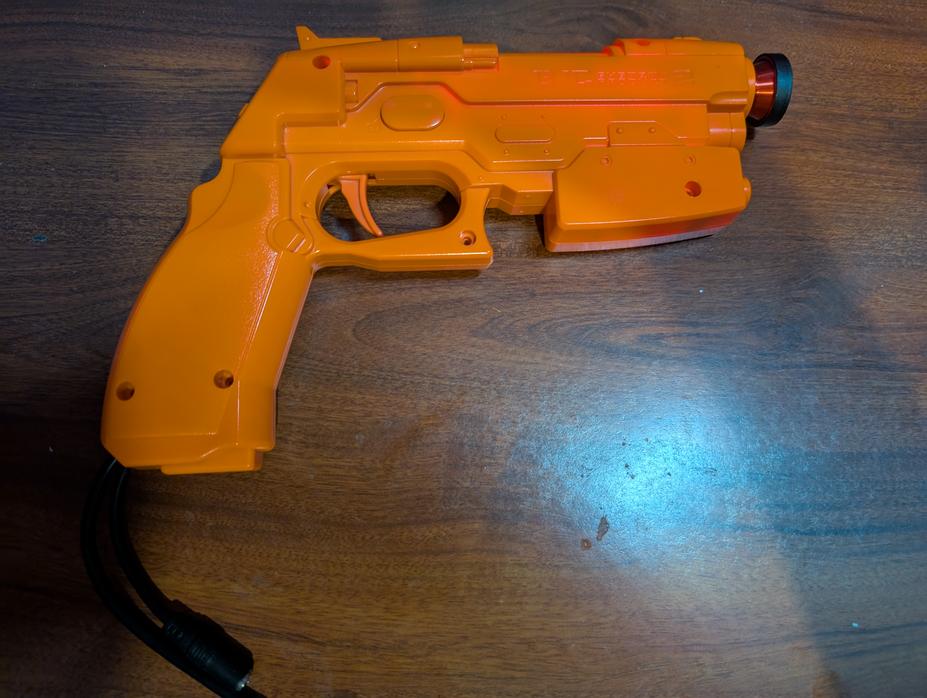
This article describes the process of converting a Namco GunCon 2 (GCon 2) to run OpenFIRE, an open source light gun firmware. The original PCB is retained to use the button contacts and microswitch for the trigger, but its USB cable, camera tube, and ribbon cables are removed. This conversion is reversible and done as cheaply as possible, using a minimal budget and one 3D printed part to couple the IR camera and fisheye lens.
Bill of materials (non-affiliate links):
- DFRobot IR positioning camera
- Mobile phone camera fisheye lens attachment
- OpenFIRE-compatible RP2040/RP2350 microcontroller (consult documentation)
- 26-28 AWG wire (preferably in ribbon cable form)
- 30 AWG wire
- One 3D printed part:
GCon2_Lens_support_M19.1.25-M18.1.25.stlfrom this publication - Soldering and desoldering equipment
The process will be described generally and assumes basic soldering ability. Construction of the IR emitters is outside the scope of this guide.
Disassemble the GunCon 2, remove all of the PCBs from the GunCon 2 chassis, and carefully remove the black camera tube by pulling at the four tabs on the sides. Disconnect the USB cable by removing the harness from the main PCB, then desolder the ribbon cables attaching to the B button PCB and the D-pad PCB.
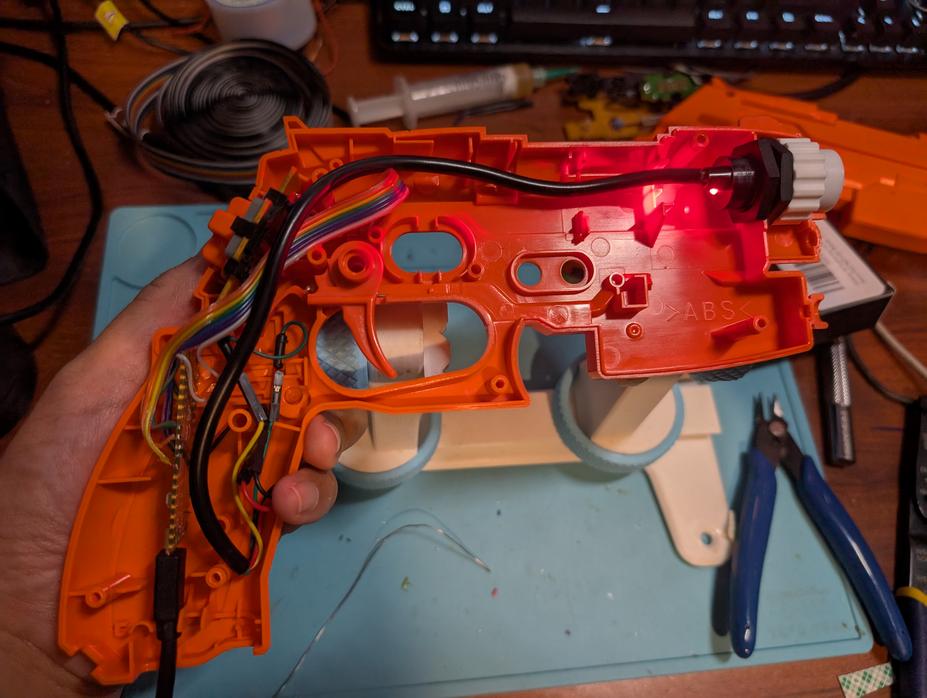
Flash the microcontroller with the latest OpenFIRE firmware according to the instructions in the repository. Start by wiring the four leads of the IR camera to the microcontroller, following the wiring guide, then test the orientation in the OpenFIRE app. Disregard any "TOP" indicators on the camera body if present. The LED on the rear of the camera should be on the left side when oriented properly. Insert the camera into the larger end of the 3D printed coupler, then use the hexagon nuts to secure the camera to the tabs in the muzzle.
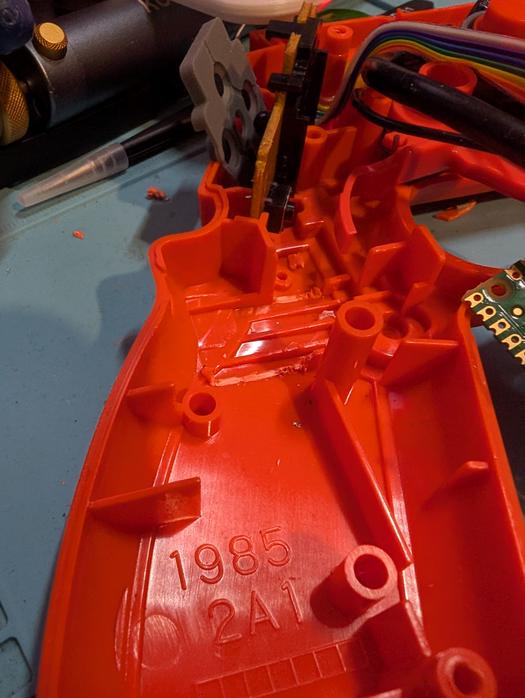
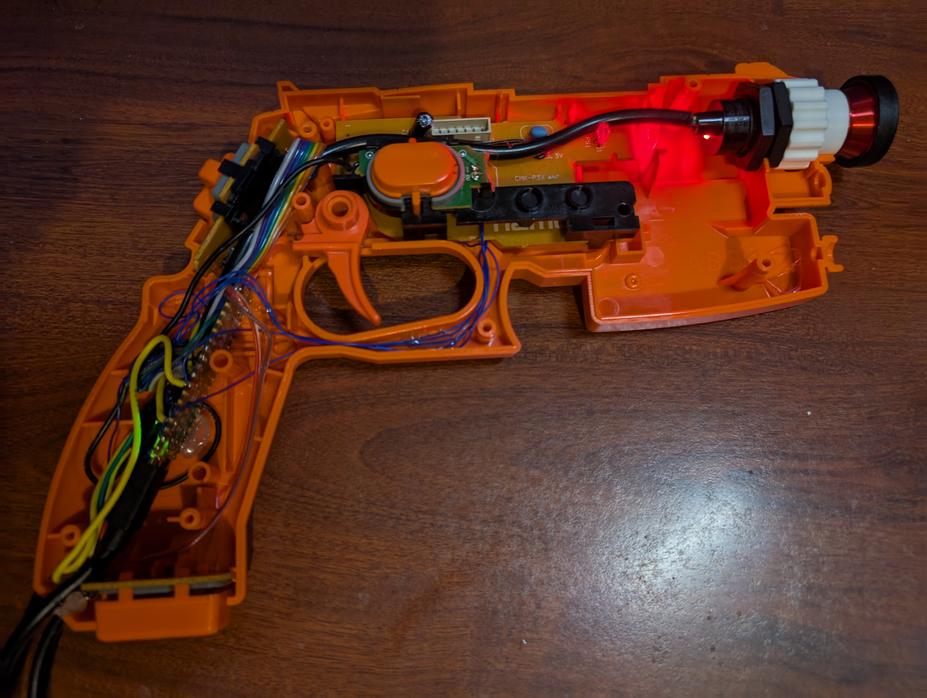
Place the microcontroller in the handle with the USB cable oriented downward. If your board has the footprint of Raspberry Pi Pico as I have, you'll need to cut some plastic tabs.
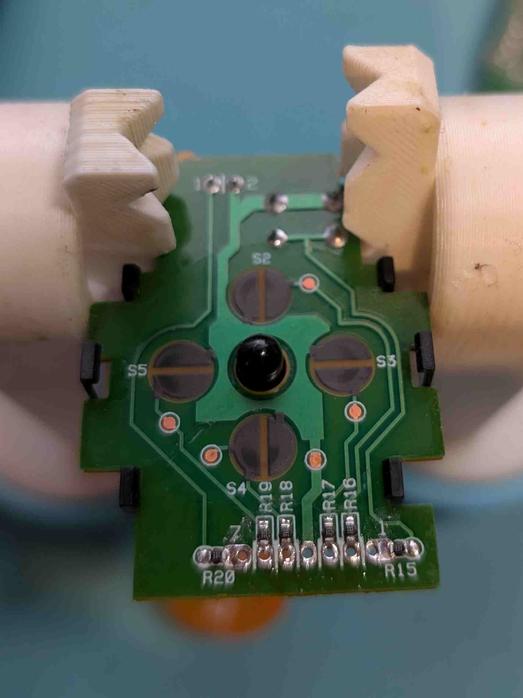
The trigger microswitch is located in the small PCB that contains the D-pad contacts. This board connects to the main board via a 7-pin ribbon cable, from which the four D-pad directions, trigger, C button, and ground can be tapped. The pinout, with the vias on the bottom of the board and pin 1 on the right side, is as follows:
7 - C
6 - Right
5 - Up
4 - GND
3 - Left
2 - Down
1 - Trigger
I use a ribbon cable of my own for making connections like this. You can either connect the C button to the RP2040 by tapping this board or removing the wires from the C button board and connecting it directly to the RP2040. After wiring these controls to the RP2040, at this point I test the controls in the OpenFIRE app.
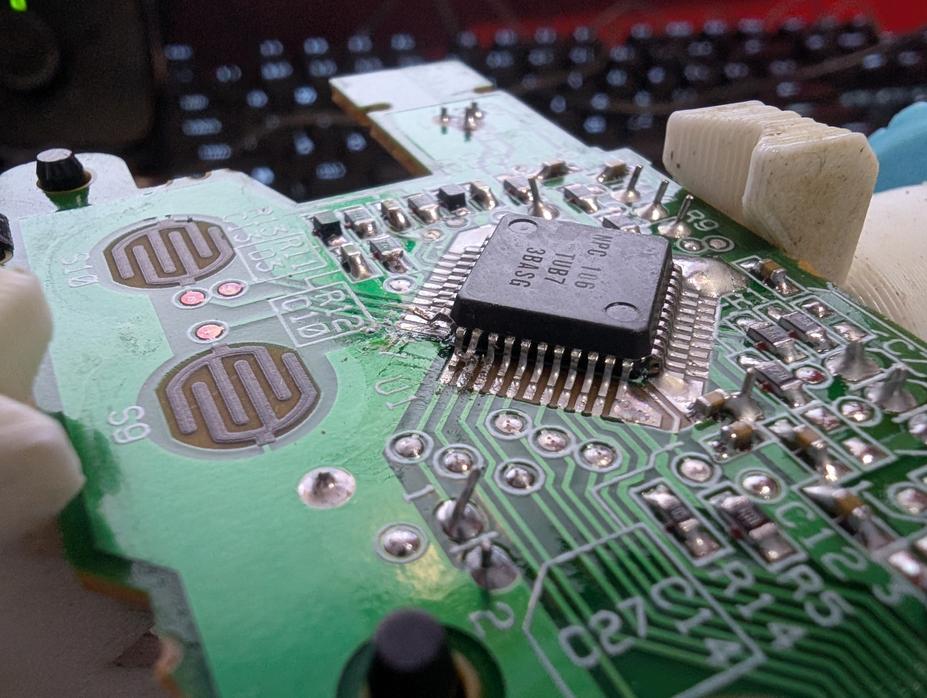
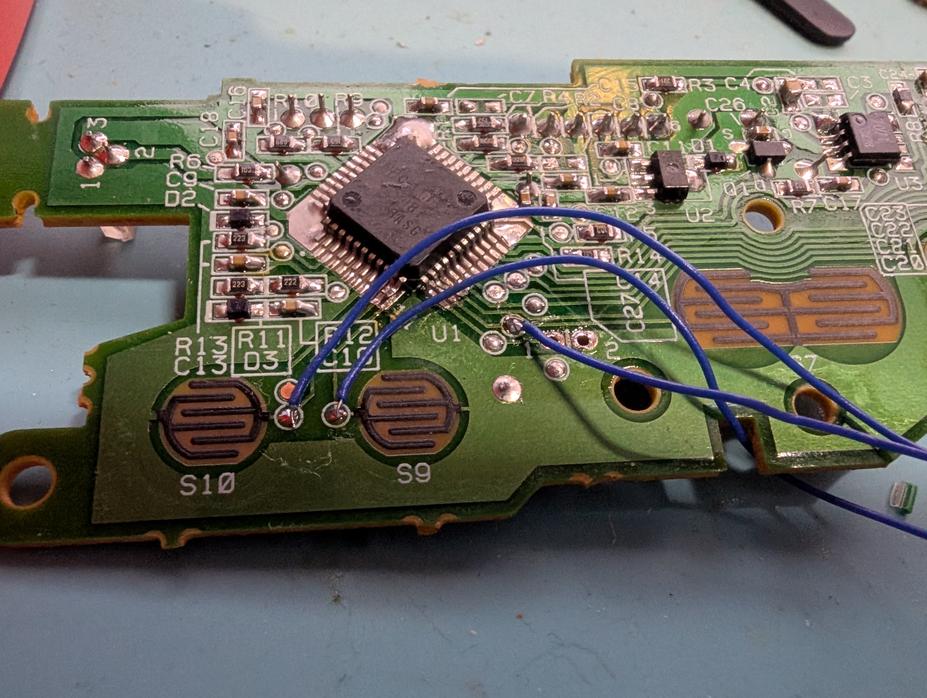
After doing so, on the main PCB, locate the button contacts for the A, Start, and Select buttons and trace them to the pins on the large square IC, then lift those pins.
There are test pads in between the contacts and the IC. Locate those, add solder, and use 30 AWG wrapping wire to connect it to the RP2040. Ensure the wires on the test pads are pointing upward or downward so they do not obstruct contact with the rubber dome buttons after reassembly. The ribbon cable contacts that connected the main board to the D-pad board, on the right side of the board with the button contacts face up, has common ground in the center hole.
The B button can be connected on its own vias that originally connected to the main board with 30 AWG wire.
All of these wires can be channeled inside the trigger guard. I use hot glue to secure the wires after ensuring the chassis closes properly and all of the buttons can be pressed without any more resistance than before.
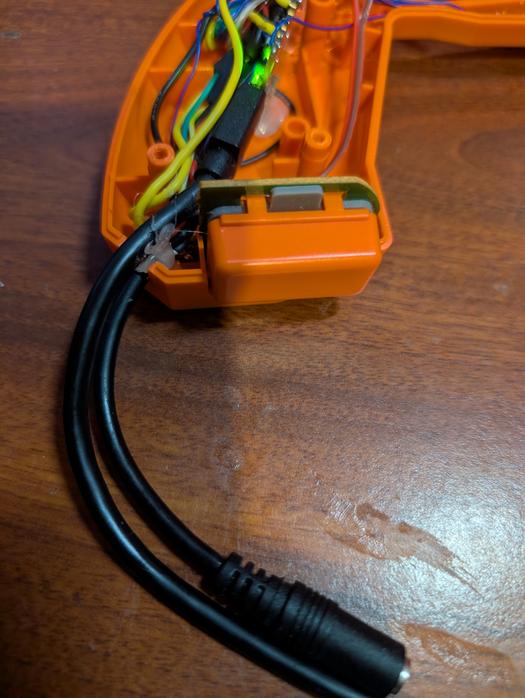
One of my goals with this build is the optional step of adding a connection to a pedal that connects to the gun itself, inspired by beatmania IIDX controllers and their RCA port for a foot pedal attachment. I used an ordinary 3.5mm audio extension cable connected to the Pedal I/O pin on the RP2040, and a Perfectly Adequate Arcade Pedal build without a microcontroller of its own; its microswitch is connected to the male end of the audio cable, and the female end is given a few inches and hangs out of the gun. I use more hot glue to fill the gap in the cable outlet and secure the cables.
The completed build is my ideal light gun controller: Lightweight, compatible with PC games and emulators, a minimum effective range starting at about 4 feet from the IR emitters, and the ability to connect a pedal control directly to the gun rather than another USB port for simpler control. It is of course possible to add a solenoid and/or rumble motor for force feedback, but for a light gun for home use, I can do without those features. The cable outlet has plenty of space left over to add an external power connector for a 12/24V solenoid if I should choose to add one later. By lifting pins from the main board instead of removing the IC entirely and retaining the ribbon cables and camera tube for safe keeping, it is theoretically possible to uninstall these parts and change the GunCon 2 back to its original functionality. Nevertheless, I recommend seeking out a GunCon 2 being sold for parts to perform this conversion, unless you're certain you have no means to play GunCon 2-supported games on CRT in the future.
